Shader Toggler
Preface
Okay, let's talk about the basics. You will need the add-on version of ReShade. Read it here.
Requirements
Then you will need to download the add-on it self: https://github.com/FransBouma/ShaderToggler/releases
Make sure you download the correct one for your game.
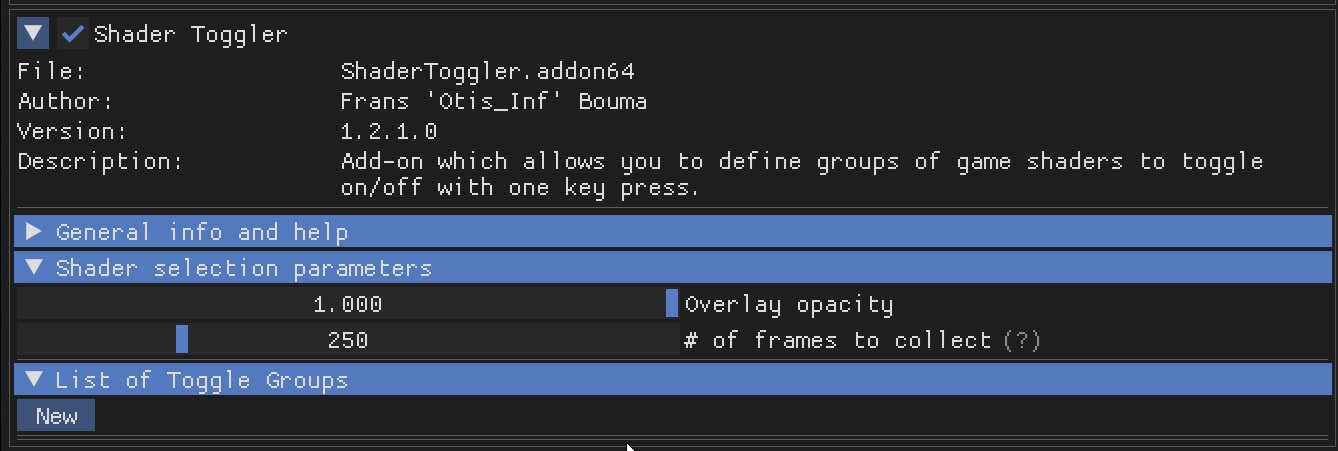
Main Tutorial
For this Guide we are going to use a Free game that does not let you disable a effect.
In this case we are going to use a Free Game called. "Mimic Search."
Download it here.
Install the game and install ReShade with The Add-on listed above. In this case it's the, ShaderToggler.addon64.
Make Sure all other ReShade Shader are OFF. We do not want to get mixed out with ReShade's own shaders.
Phase 1
So once you have Both ReShade and the Add-on Installed now we can start using it.
First thing you want to do is head over to the add-on Tab:
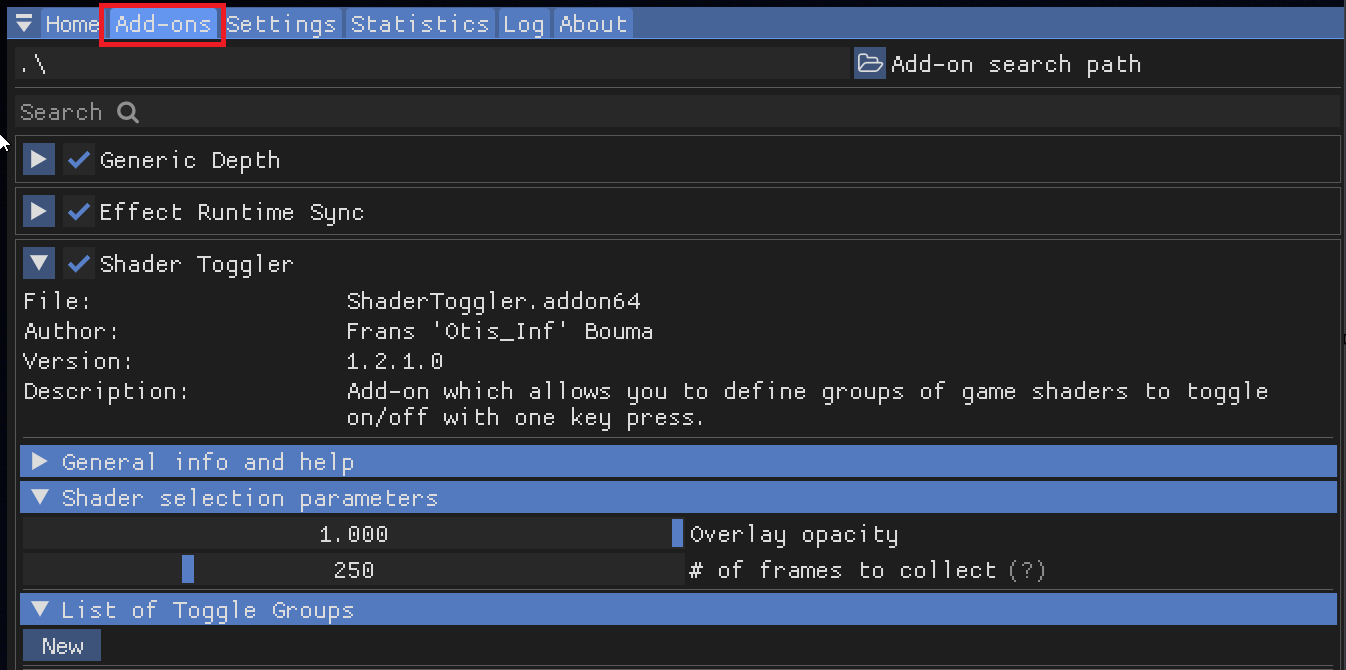
I minimized the other add-ons to help make it clearer.
Also make sure your in the game and you have a problematic effect like Chromatic Aberration.
On the intro page this is effect we are targeting:
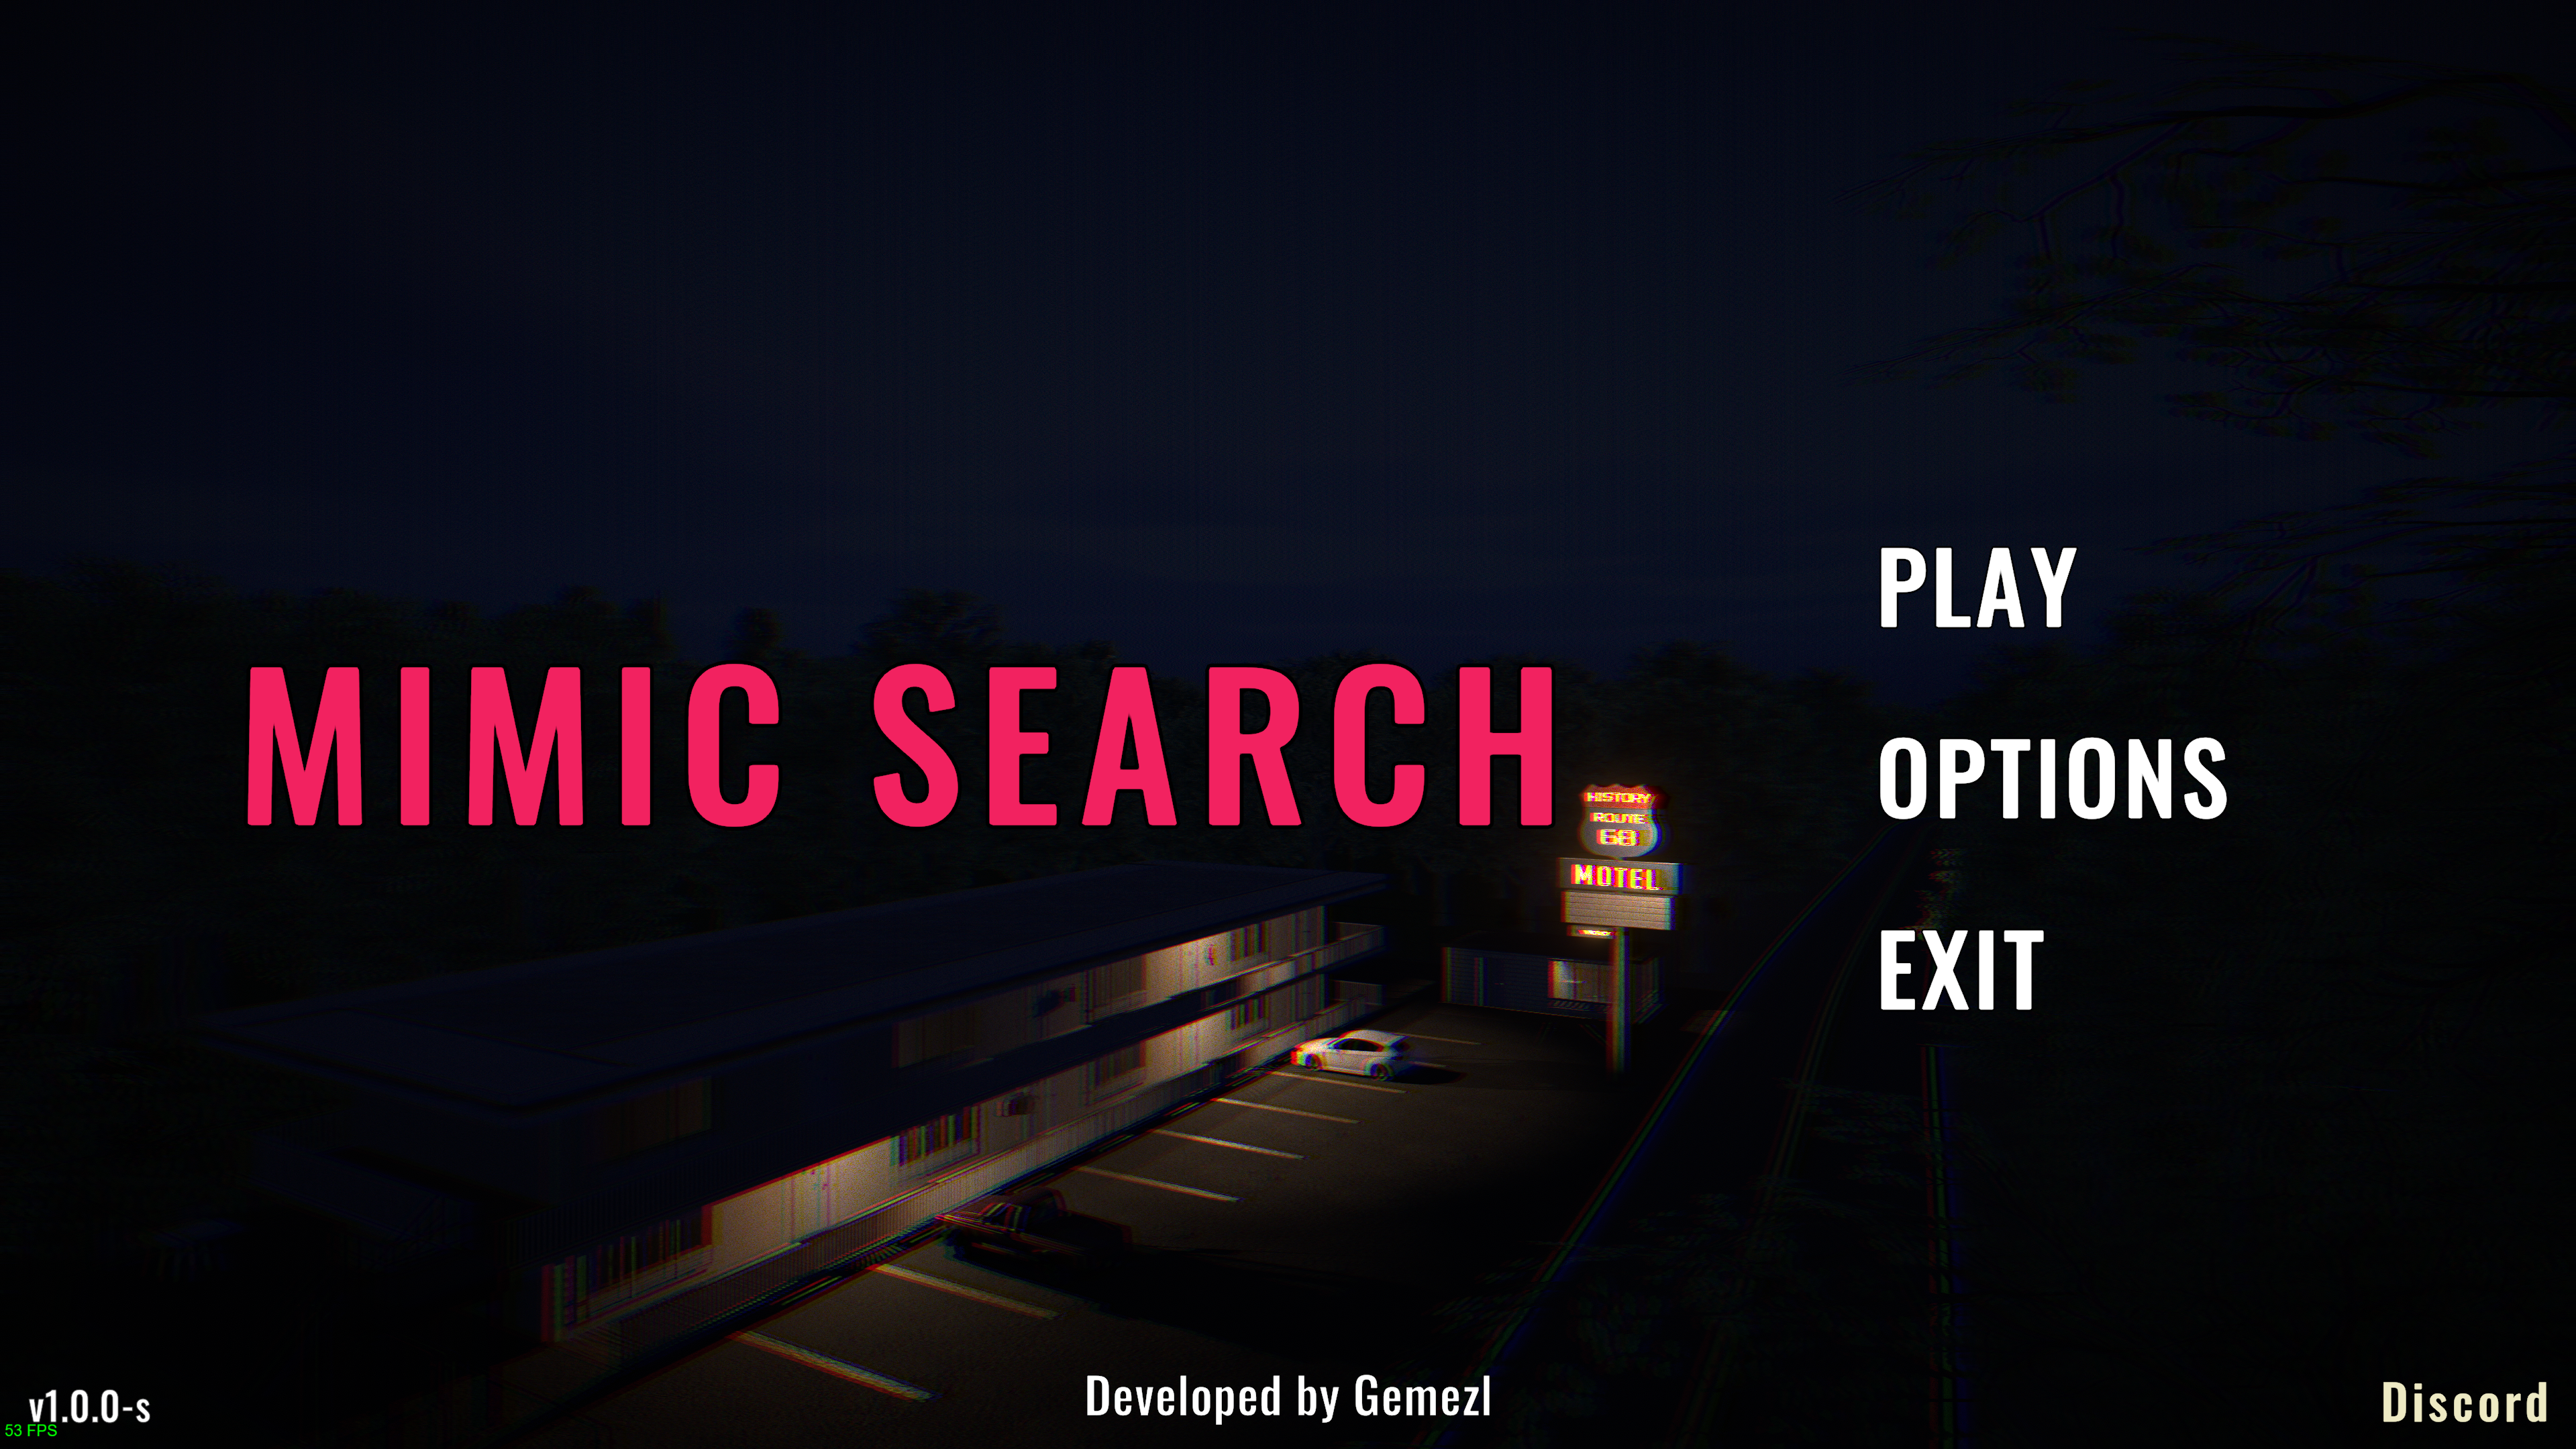
Chromatic Aberration - On
You also may want to move ReShade's own menu to the right and press New.
Phase 2
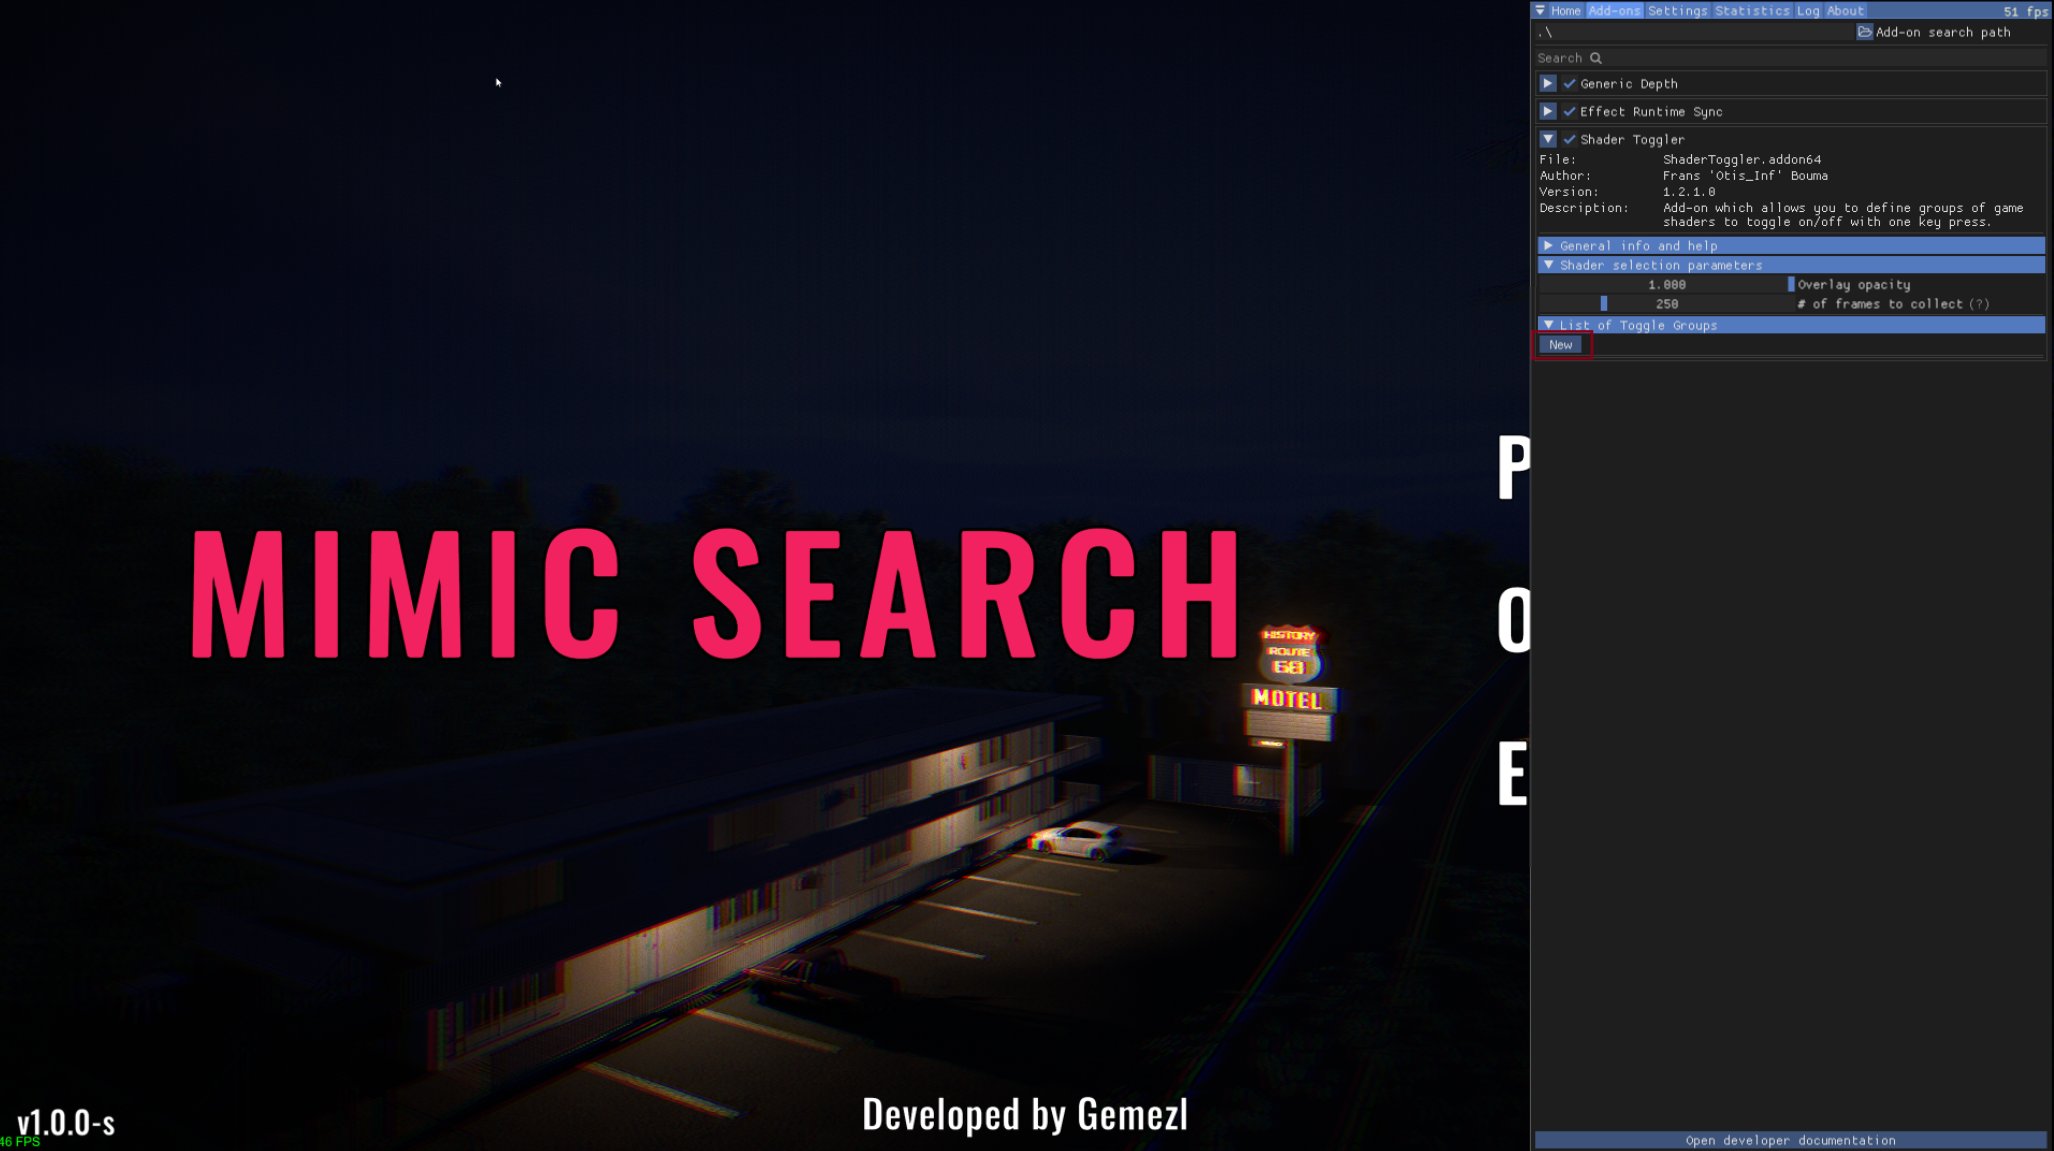
The menu will change a little bit. But, all is good. Now you should click on Edit.

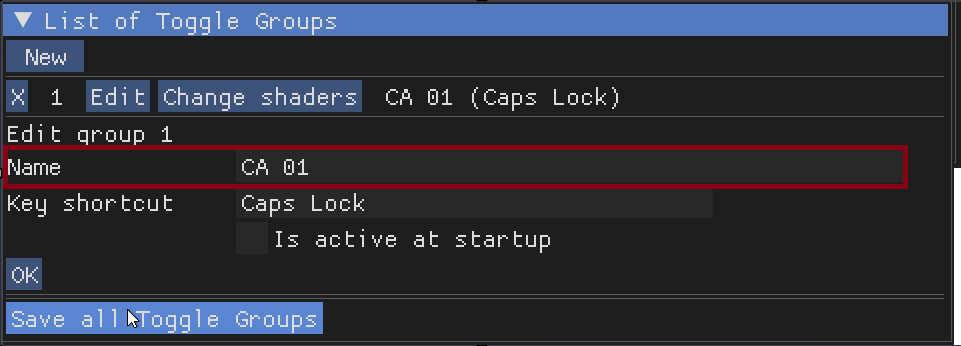
Now you want to Enter the name of the effect or what ever you like.
In this example we are going to write out CA 01 in the Name Box.
Phase 3
Now let's set up a shortcut. I like to use Ctrl + 1 for the first group. You can enter what ever you like.
Click the Shortcut Box and press the shortcut keys now. Press OK now.
It should look like this now.
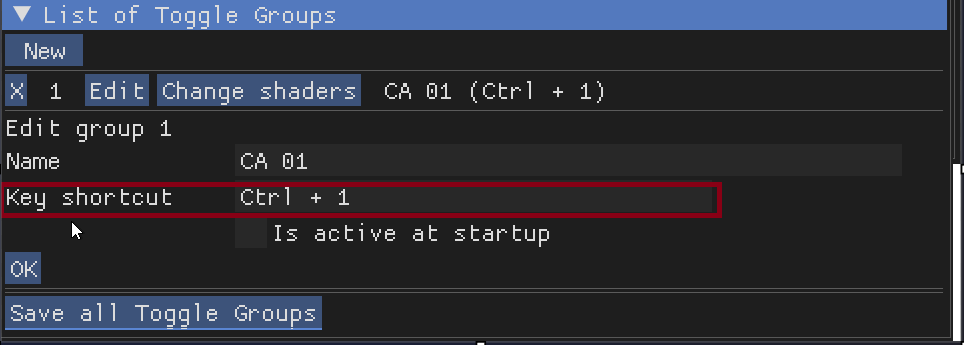
Here we can set it to ☑️ activate at startup or not. It is up too you.
Now Press OK again.
Phase 4
Now you can click on the Change shaders Button.

Let it run for a bit.
It will look like this when it's running:

Then it will change to this:

All is good now we can hunt for Shaders.
Navigation and Saving
Phase 1
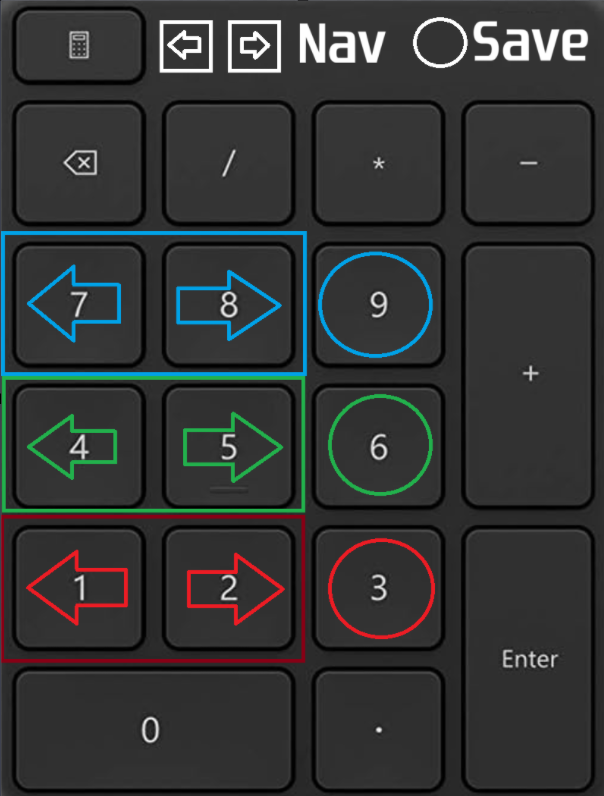
We will need to look at the Num Pad in this case.
Keys 1 & 2are Navigation and3is Save for Pixel ShadersKeys 4 & 5are Navigation and6is Save for Vertex ShadersKeys 7 & 8are Navigation and9is Save for Compute Shades
In this case we will use 1 and 2 so we can Hunt for the Shader we want.
Once we find and save the shader we where looking for by pressing 3 in this case. It will look like this:
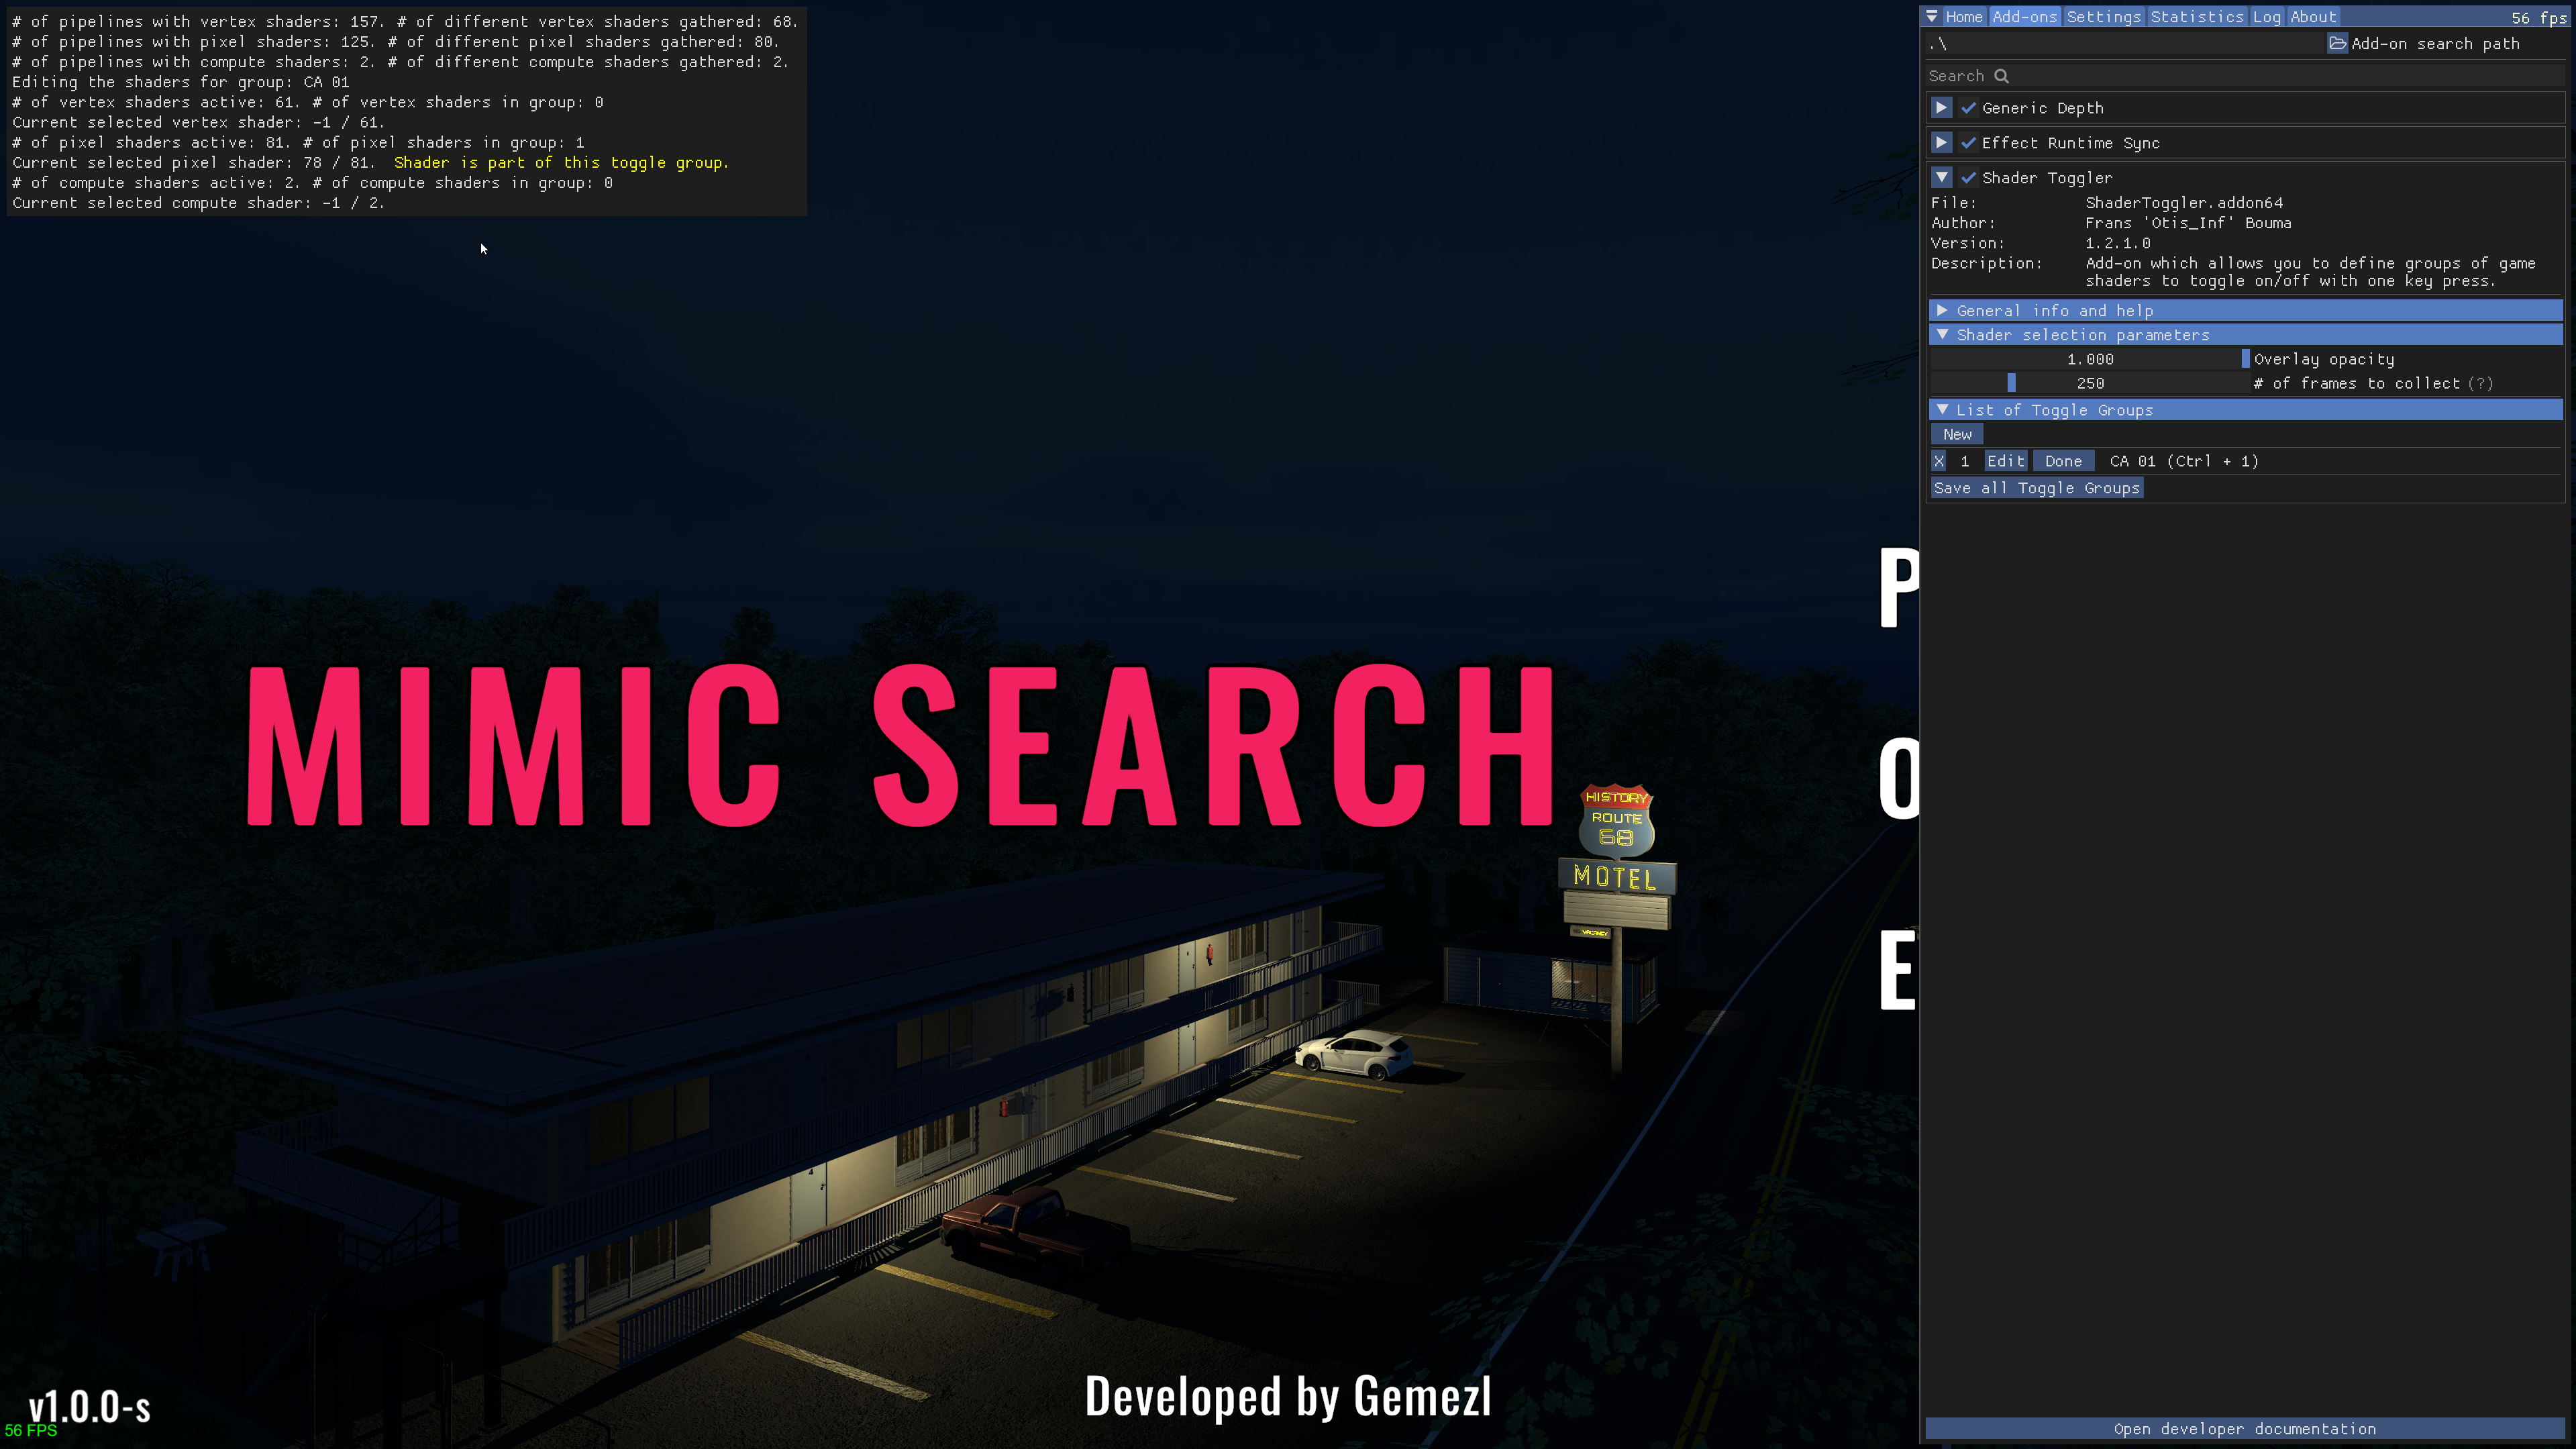
Now you can click Done.

Now press the Shortcut listed for me it is Ctrl + 1 to activate it:

Then the Shader should be disabled in this case.
Repeat the process for other shaders in the game.
Please Note that not all shaders will be accessible by this tool.
You also want to click on the, Save all Toggle Groups Button.

Phase 2
Here is the Save file for this Guide:
[General]
AmountGroups=1

[Group0_VertexShaders]
AmountHashes=0

[Group0_PixelShaders]
ShaderHash0=3090188387
AmountHashes=1

[Group0_ComputeShaders]
AmountHashes=0

[Group0]
Name=CA 01
ToggleKey=822083840
IsActiveAtStartup=False
The file will be where the game exe/add-on is.
Also here is a image from in game with the effect disabled:
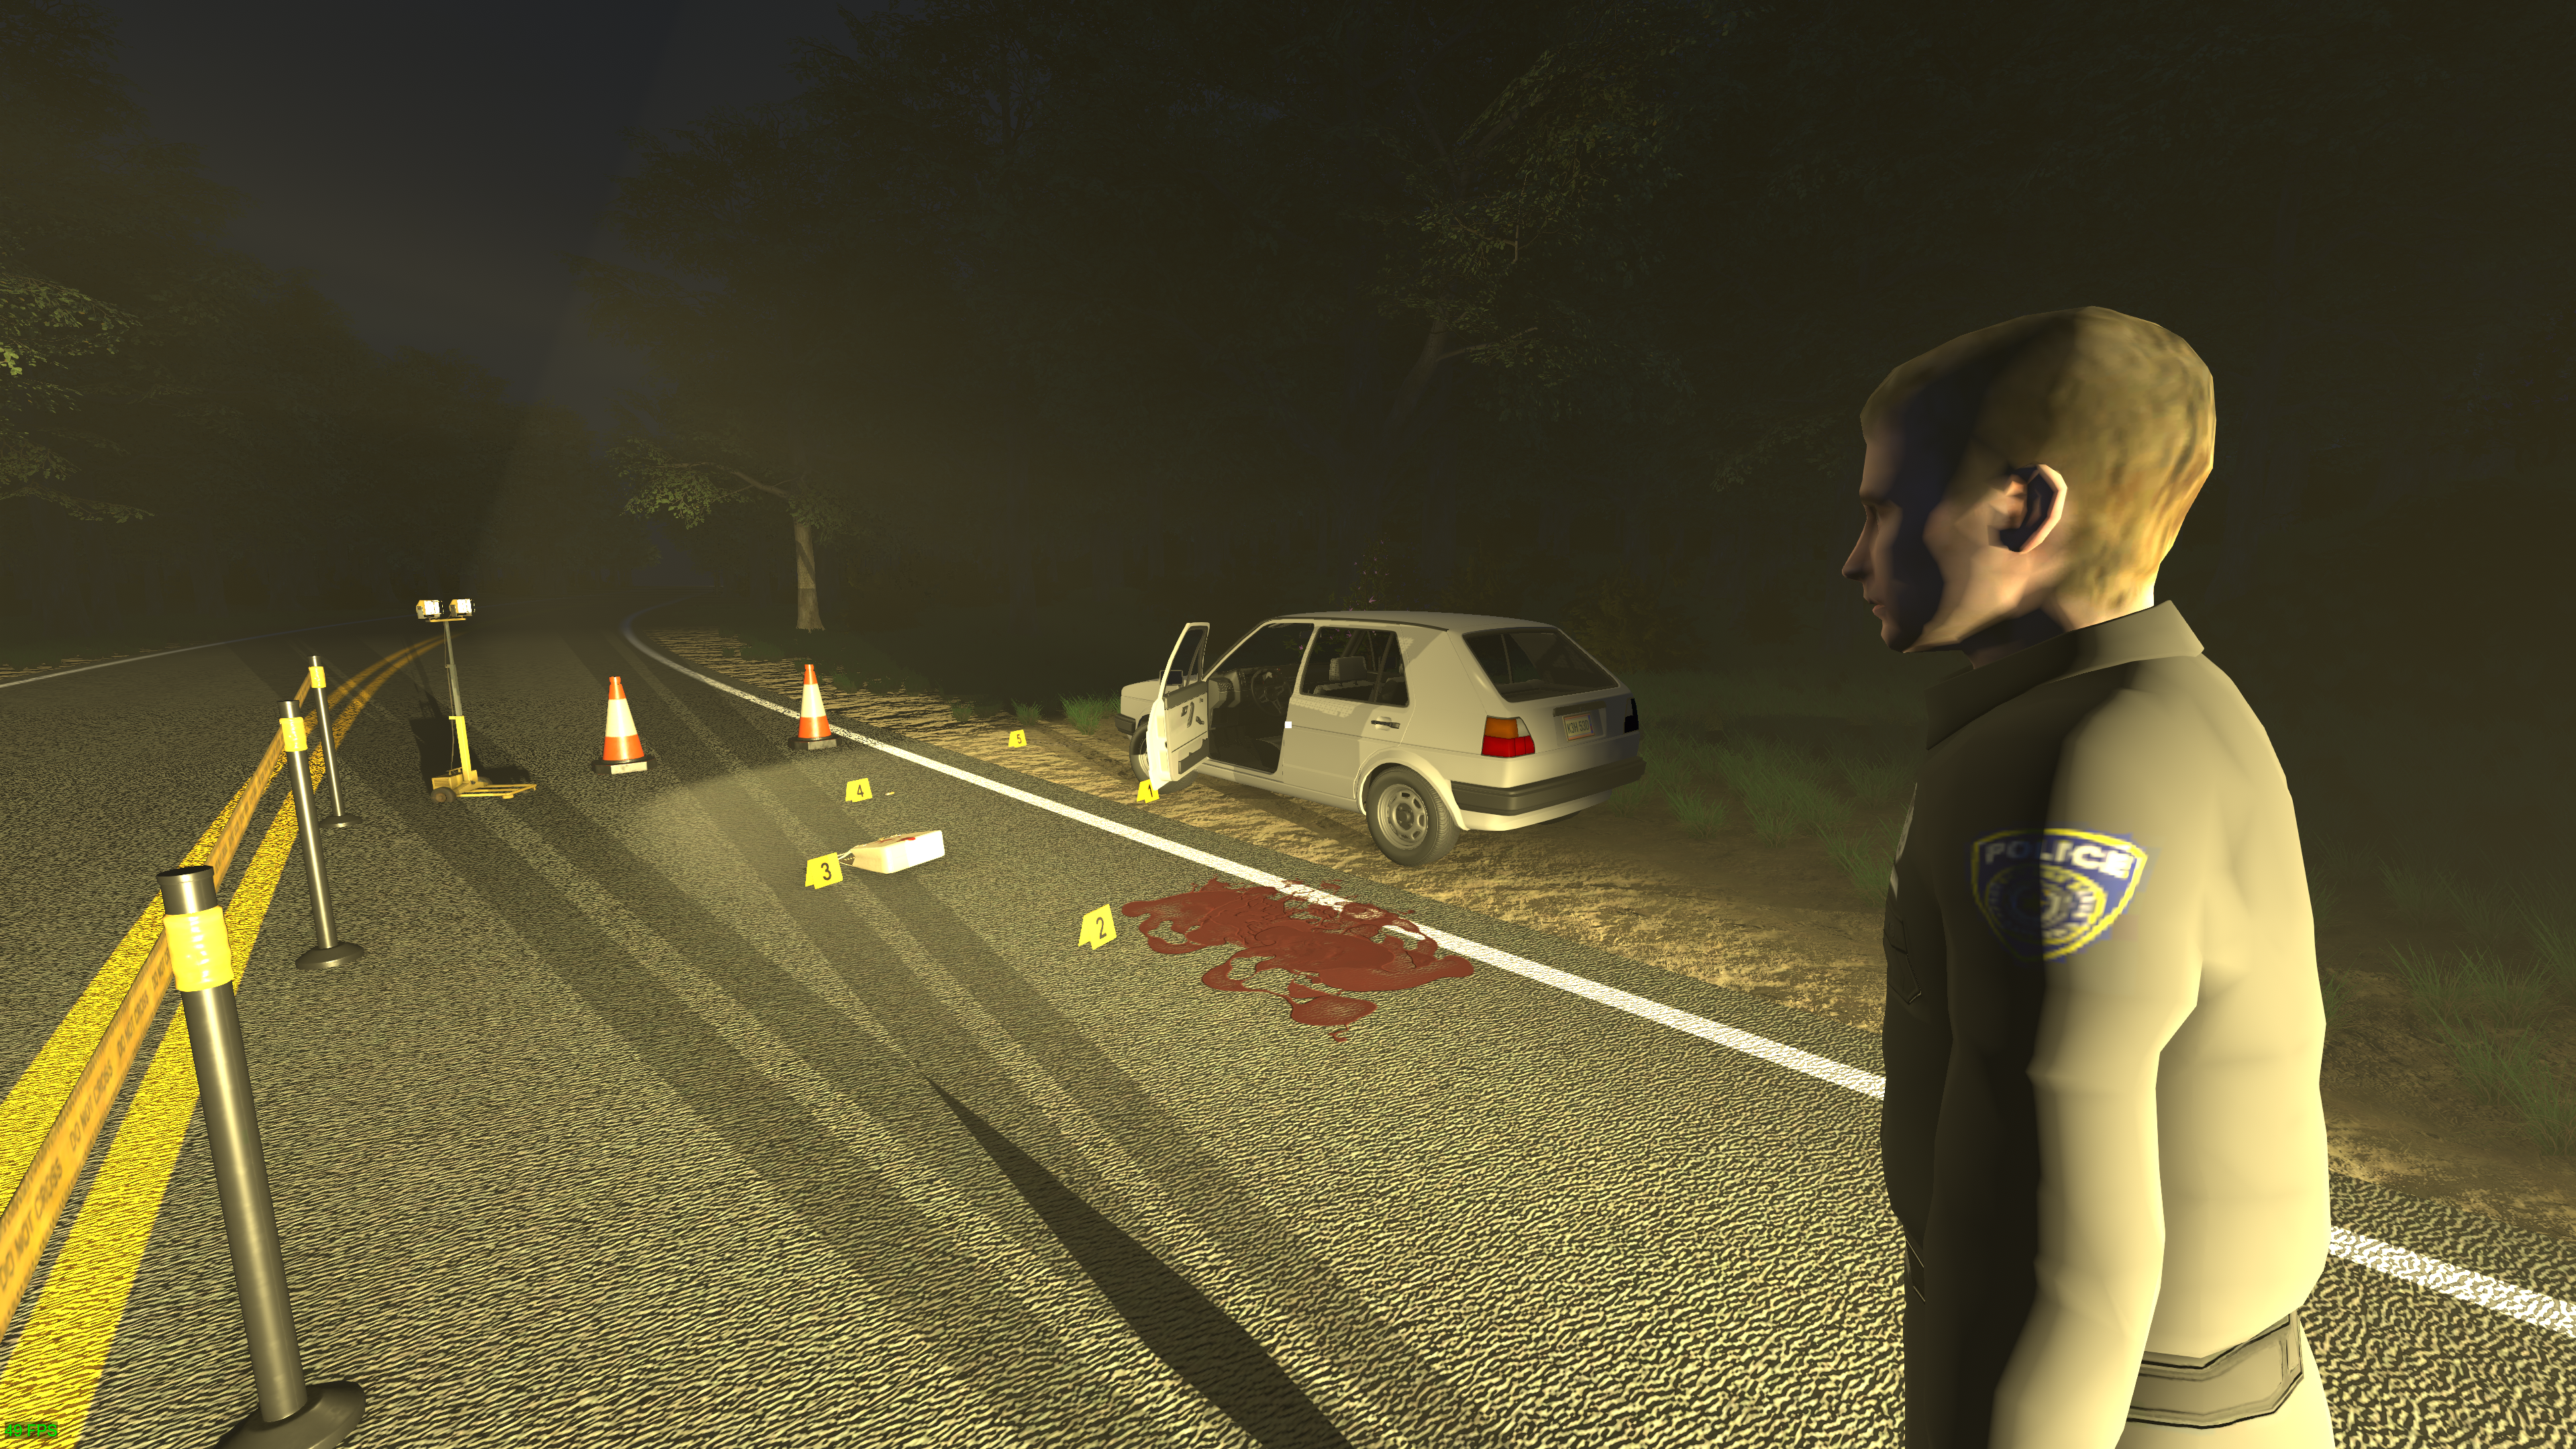
Chromatic Aberration - Off
Conclusion
OK, Now that we are done you can keep in mind that. If there are more shaders to hunt down you can always click New again and add a new group.
Good luck and happy Shaders Hunting.